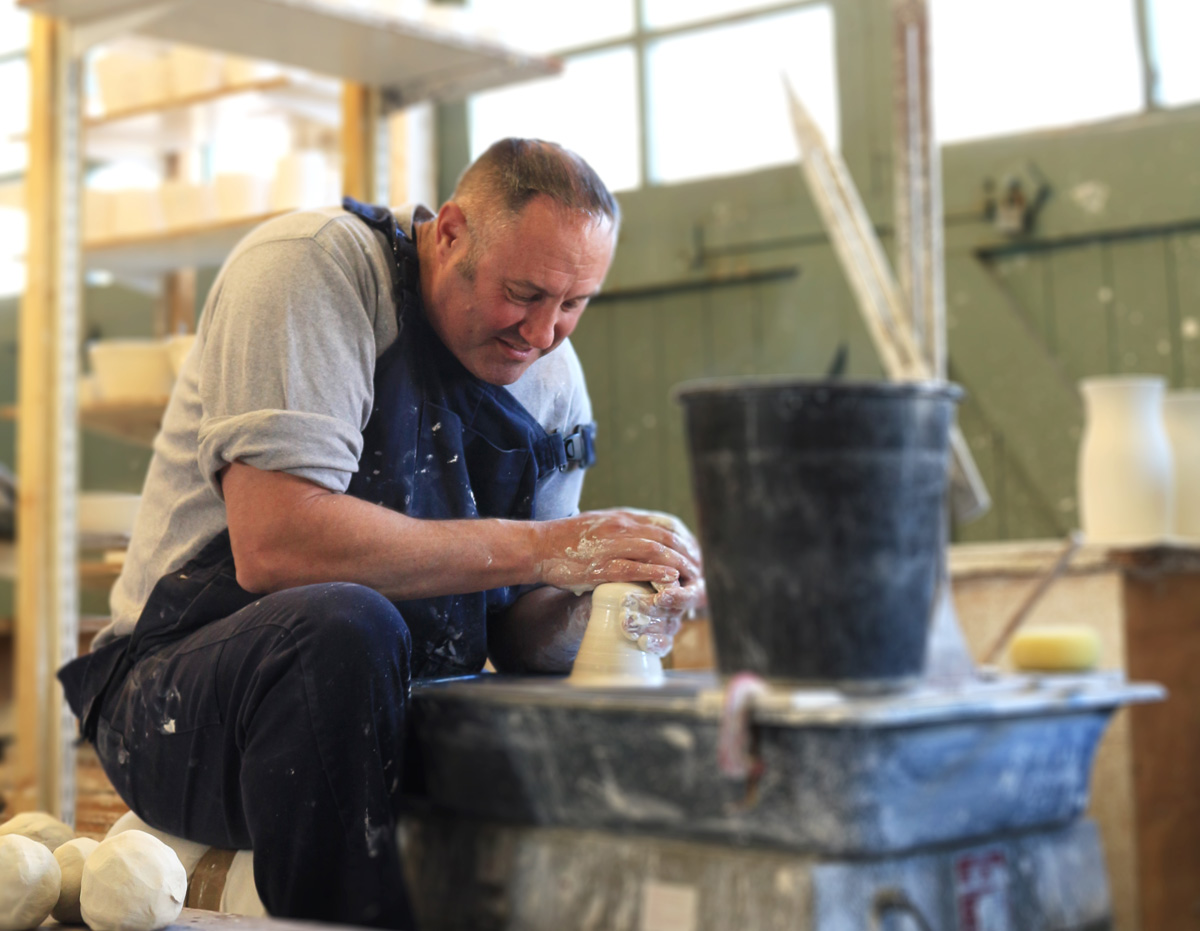
Expert advice from the UK’s best-known ceramic designer and master potter, Keith Brymer Jones.
Tip One
Glazes won’t mix like paints, so by mixing a blue and a yellow you won’t get green. But never fear, there are a multitude of ready mixed glaze colours you can use. Group all glazes with the same firing temperature ranges together and never use mixed ranges on one pot. By coating the same piece with earthenware and stoneware glazes for example, will be a bad move!
Tip Two
Why not use a slip trailer and our coloured slips to add detailed decoration to your damp clay work? It’s just like icing a cake! Add dots, dashes and line drawings and to get a glossy finish simply apply a clear glaze once the piece is bisque fired.
Tip Three
Use a bold cut lino cut design and place face down onto a slab of clay. Apply pressure to the back of the lino with a rolling pin. Remove the lino to reveal your design in relief. By applying underglazes to the bisque fired piece and wiping off the excess your design will be enhanced. Apply a clear glaze over the top to make the colours vibrant.
Tip Four
Follow best practises spritz work areas and floors with water and use a damp sponge when clearing up. This will help prevent clay dust becoming airborne. Good ventilation will help remove particles and less dust means fewer problems with crawling glaze.
Tip Five
When turning a base or foot rim on a pot, I always centre a chuck (solid lump of clay), turn my pot upside down onto the chuck and centre the pot like a piece of clay. This way, one is able to turn right down to the rim of the pot.
Tip Six
When glazing biscuit ware or decorating it, always blow off any dust to prevent any crawling in the glost kiln. Not sure what crawling is … crawling is where the molten glaze withdraws into ‘islands’ leaving bare clay patches.
Tip Seven
When firing biscuit ware, always give the kiln a soak at its top temperature (soak meaning … soaking the kiln chamber with heat). This burns off any carbon thus producing a cleaner biscuit.
Tip Eight
Prevent clay tiles from curling during the drying process by rolling the clay on an absorbent surface such as MDF or cloth. Cut the tile to size and remove the excess. Leave the tile alone until the leather-hard stage when it’s safer to handle without distorting the tile.
Tip Nine
When working with different clays, always wash work benches down to avoid contamination. This is especially important if one is working with earthenware followed by stoneware or porcelain body.
Tip Ten
Don’t have access to a kiln? Air-drying clay contains small nylon fibres to add structural strength. This means they are less fragile than standard unfired clay and don’t have to be kiln fired. Decorate the pieces with acrylic paint and get some great results.
Tip Eleven
When working with porcelain, after applying handles, always cover the piece up for a day for both pieces of clay to dry out at the same rate.
Tip Twelve
When preparing handles created from porcelain, always pre-shape first! Porcelain has a troublesome tendency to crack and pull away when two pieces are attached together. By pre-shaping porcelain handles, the handles have a chance to dry out slightly in their new shape before they’re applied to the body, therefore less likely to crack or pull away.
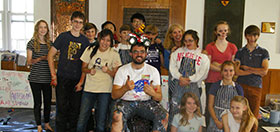
 2018 winners - Holmer Green Senior School with Jennifer Collier
 2017 winners - Maiden Erlegh School with Cleo Mussi
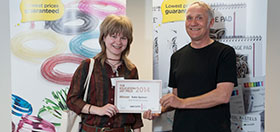
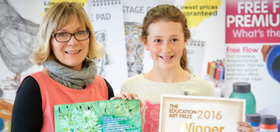 2016 winners - Lydia Wilson, Mowden Hall School with Jenny Muncaster
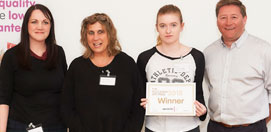
 2015 winners - Robert Gordon’s College with Celia Smith