If you have never made one before, creating your own mosaic tile could not be simpler thanks to this helpful guide created by Cleo Mussi. Simply follow these easy instructions to create your own ceramic mosaic masterpiece – giving you the confidence to take on more challenging mosaics.
1.Step one. Lay out all your materials.
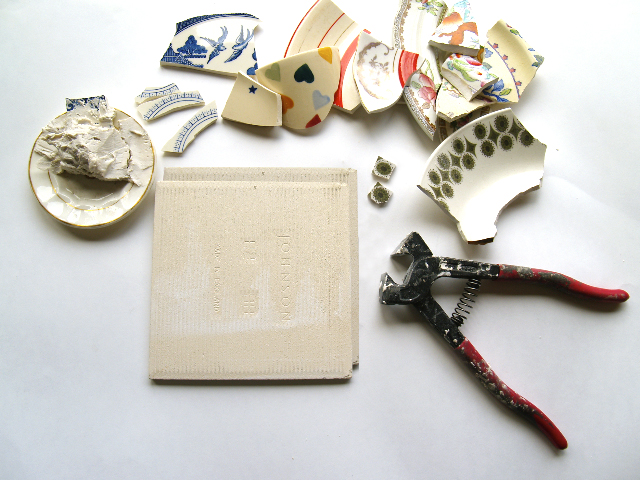
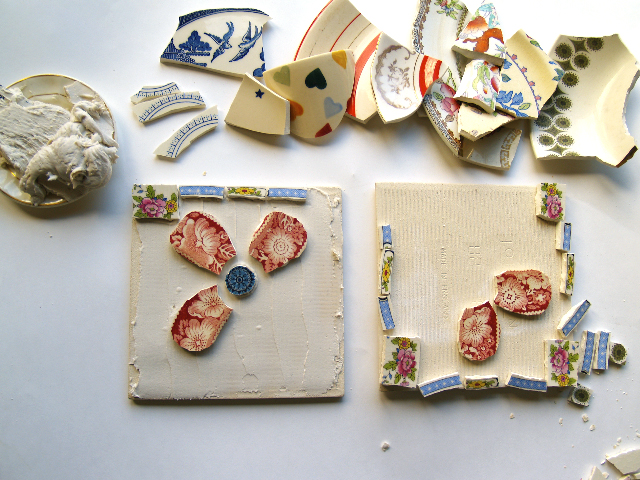
2. Step two. Put on goggles and, using the tile nippers, begin to cut out regular and repeating shapes using the patterns that you find within the ceramic. Experiment with shapes and scale, colour and pattern. Then lay your design out onto the tile.
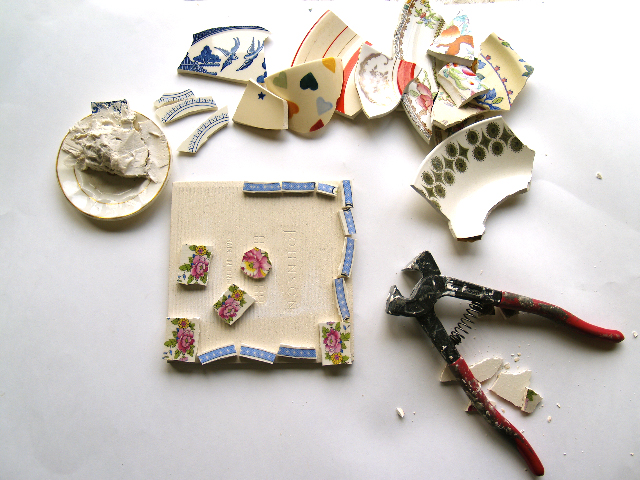
3. Step three. When the design is complete, cover another tile with a thin layer (2-3 mm) of ready mixed tile adhesive.
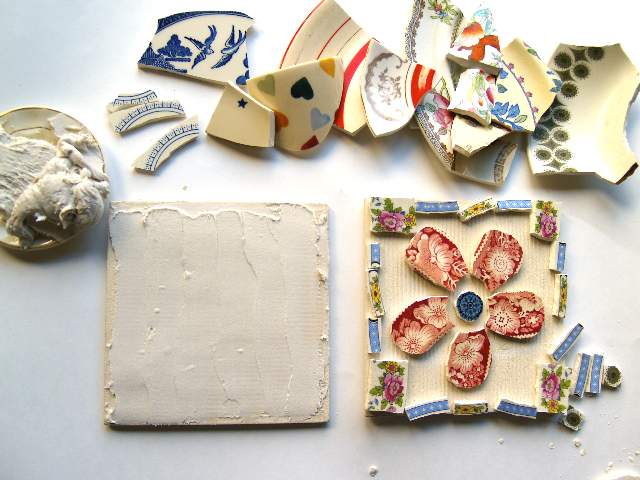
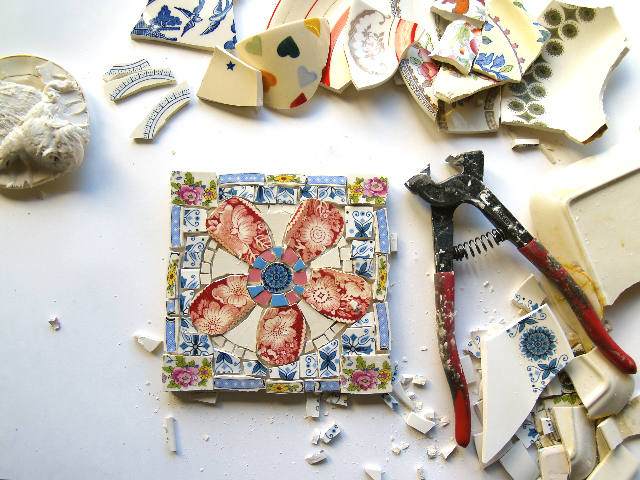
4. Step four. Transfer your design across from the first tile, to the adhesive coated tile, pressing each shard into the adhesive.
5. Step five. Allow your tile to dry for 24 hours in a warm place.
6. Step six. Wearing the rubber gloves and dust mask, add a cup of tile grout into a mixing cup and add a small quantity of water. Mix gradually using the wooden spatula to make a thick paste with the consistency of cake mixture.
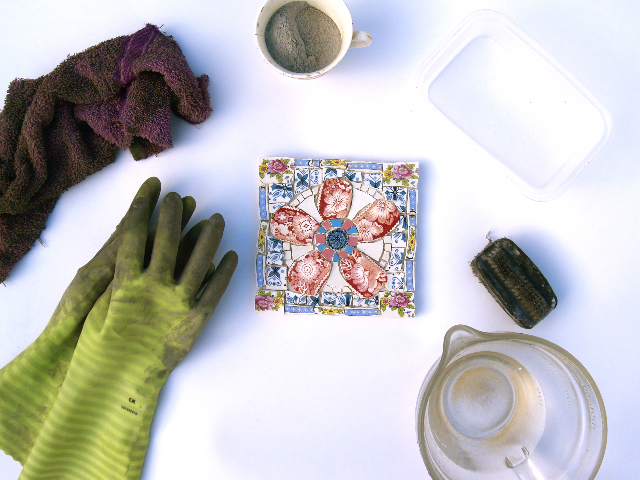
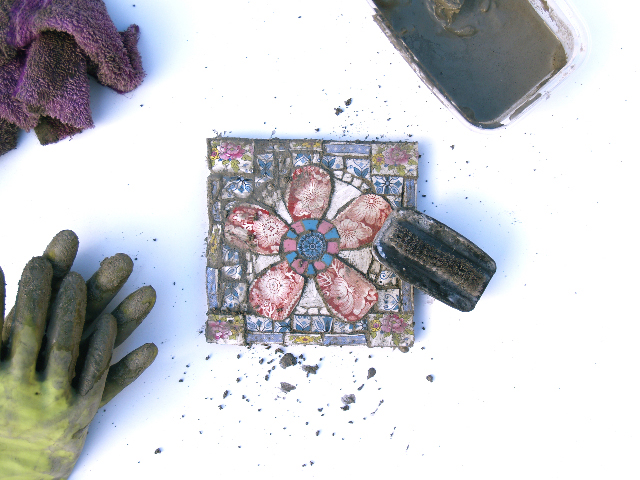
7. Step seven. Use your fingers or a rubber kidney to push the grout mixture into the gaps of the ceramic and around the edges.
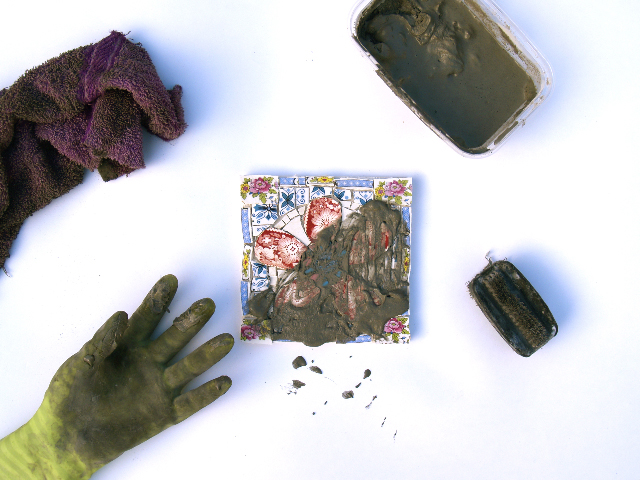
8. Step eight. Wait for a few minutes for the grout to begin to set, then use an old nail brush to brush off the excess grout which should come away in a wet powder.
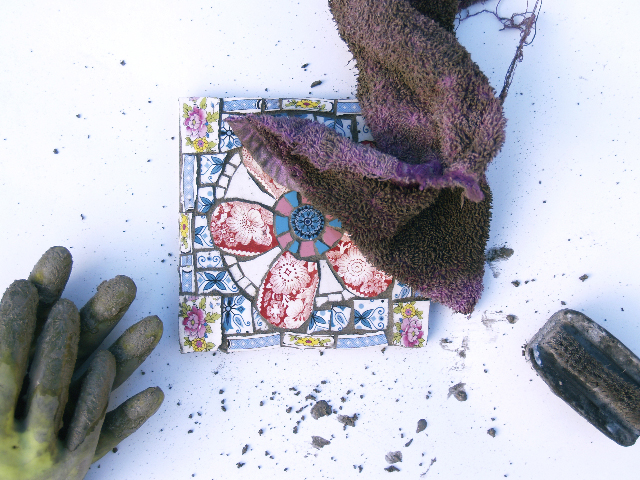
9. Step nine. Use an old towel to polish off the remaining grout.
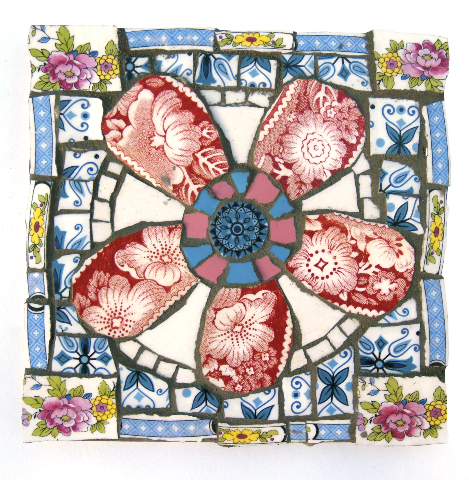
10. Step ten. Your tile is finished!
Now you have the tools to create beautiful mosaic artwork you can try larger projects and add your own individuality, flair and creativity to create a truly unique piece of mosaic art.
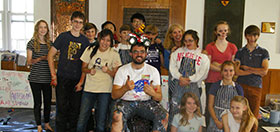
 2018 winners - Holmer Green Senior School with Jennifer Collier
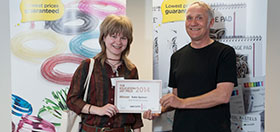
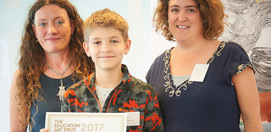 2017 winners - Maiden Erlegh School with Cleo Mussi
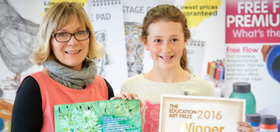 2016 winners - Lydia Wilson, Mowden Hall School with Jenny Muncaster
 2015 winners - Robert Gordon’s College with Celia Smith